My creative process 


I go through stages of love, hate, doubt and then back to love during my creative process. Sometimes it will go where it wants to go. That is why I usually don’t start with a fixed plan. And always have gesso ready on hand!😉 I love the process, it is very much like the way I travel. I accept come what may and try to make the best of it😍


Is spring here yet?


Advertisement

The most important person to please in my art…

IMG_4259

I painted the girl with the blue hair a few weeks ago and it is on my window sill. Despite all the positive likes and comments I received, I knew there was something about it that I did not like. But I thought it would grow on me. No, it did not. It kept bugging me. It’s her hair. It was way too thick and laid awkwardly. I finally decided to put absorbent ground over her and start over. I still ended up with a big hair girl, but I like it this time. I realize that the most important person I need to please with my art is ME:)

If you fail, try, try again…

phonto

Someone reached out to me today about painting darker skin faces and I decided to give it a try. I have not painted a dark skin face before. And IT WAS HARD! It is tricky getting the right color to bring out the beautiful dark skin color. I realized how much I was dependent on the white paper for my paintings:) The above picture is what I finally got to after MANY MANY TRIES. Thought I’d share my journey because a friend said she never see my “boo boos”… oh yes, I have my fair share of boo boos…. I just work on them until I am happy with them… So, to start from the beginning…

I started out painting the face with watercolor… but I hated it.

IMG_4197

and as usual, my pal, Gesso, came to the rescue.

IMG_4201

Then I switched to acrylic. Still the colors were not right.

IMG_4202

I tried mixing different skin colors using acrylic, then I used pastels, then color pencils, then watercolor, then back to acrylic. It was crazy. Truly MIXED media:) Luckily the paper did not give up on me and I finally got to a place that I like. To finish off, I added more watercolor to the background, stencils and a glittery feather (glitter always make everything right). At this moment, the sun rays from the setting sun shone on my page. What a beautiful moment. I knew it was time to stop. So, I captured the picture with the sun rays on it, to remember this moment. I am glad I persisted. And I will keep on trying. I will get it one day….

phonto

I can do this.


“I can do this”. Sometimes that is all we need to tell ourselves. Quiet our inner critic and throw away our self doubt. In this case, I wanted to experiment with a multicolor hair for my girl. Wasn’t sure how it would turn out. But I told myself not to give up, I can do this. One layer at a time..I love her.

To be honest, I am just winging it…


For the most part, I am a worrier, a planner, a perfectionist. Art has opened new avenues for me to experiment, to learn new things, to “wing it”. In this painting, I tried a couple of new things. 1. Painting roses. 2. Use crazy colors around the eyes and hair. It was fun and nerve wrecking as I had no idea how it would turn out. The important thing is I enjoyed the process! And when I saw this quote, I chuckled and thought it described this piece (and me) to a T!

Be a Pop of Color


I love to paint faces and I admire artists who can use non face colors on the face. I am a big fan of Laovaan aka Kite (on Facebook). Inspired by him today, I decided to go crazy with colors on my girl. The colors made me happy. At this point, I felt like something is missing, so I attempted to paint a flower to put on her hair.

First I drew and outlined the flower


Then I went to town with orange, red and yellow colors on the flower. I am really not good with flowers. Kept getting lost in the petals, asking myself, which petal are you on now? Where is the shading supposed to be? I love flowers but painting them is so hard…here is my attempt..


Viola, now she has a flower in her hair. Not sure which is better, with or without flower… What do you think?


My new love – Absorbent Grounds!

week7.5

I am in LOVE with using absorbent grounds on collaged background!!!! This is my second piece and love how i can get the stained effect with watercolor and the background comes through the piece. Also learned to use color pencils with it (I never did that before!).

First I glued pieces of paper I love, choosing colors and pattern that seems to go together. Also added washi tape, which I love!

week7.8

Then I added some paint to pull the background together.

week7.7

Added a drawing of a face.

week7.6

Then I painted the absorbent ground on the page, and let it dry completely. VERY important to let it dry completely. After the layer of absorbent ground is dried, I painted the face with watercolor. I love the staining effect when the watercolor is applied on the surface primed with absorbent ground – it also forces me to be less perfect and I love the painterly effect. Also used color pencils after that to add more dimensions on top. Viola! Love this process, will practice more with it!

week7.5

Excited about a new technique!!!

I learned a new technique today from an online class I am taking “let’s face it 2016” (all about faces!). I am now able to combine collage with watercolor by using absorbent grounds. Never heard of absorbent grounds until the lesson by Karine bosse. Absorbent grounds is a kind of primer that you can apply on surfaces like wood or canvas and then paint with watercolor. Before I used it, I could only paint watercolor on watercolor paper. Now I can paint on wood, canvas, collaged backgrounds… Woo hoo!

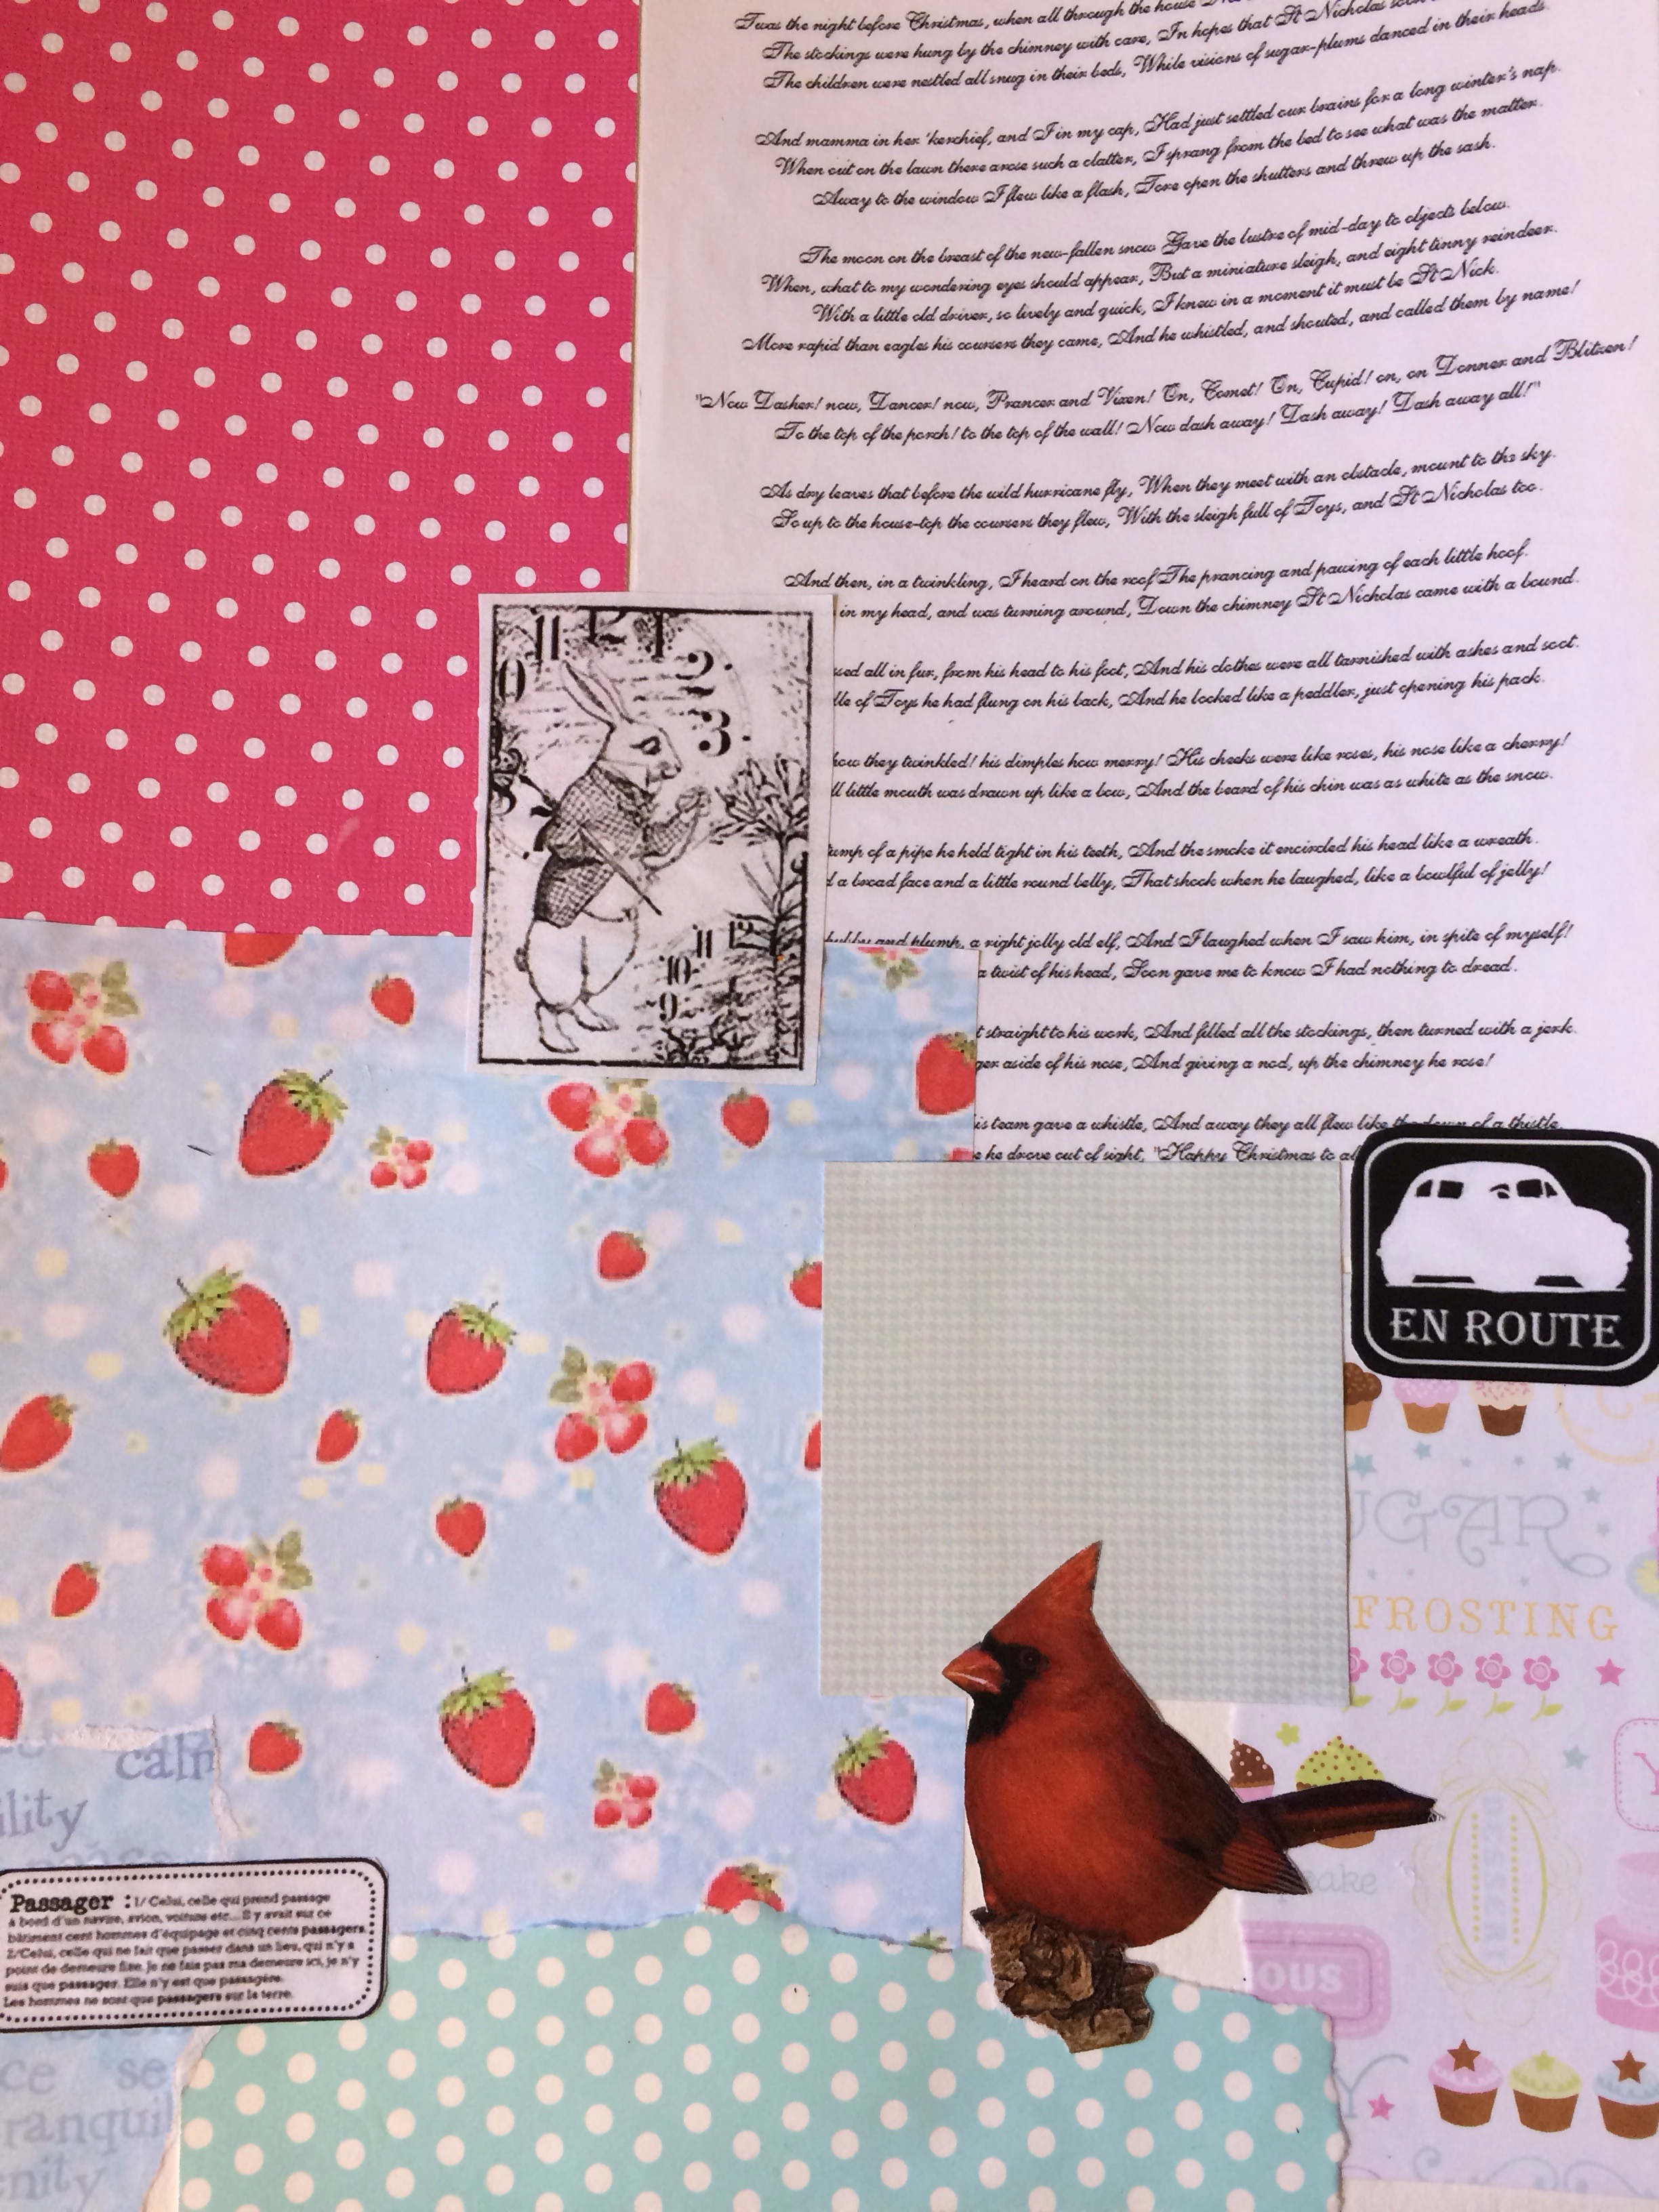
Here is what I did. First I created a page of collage using papers I like.


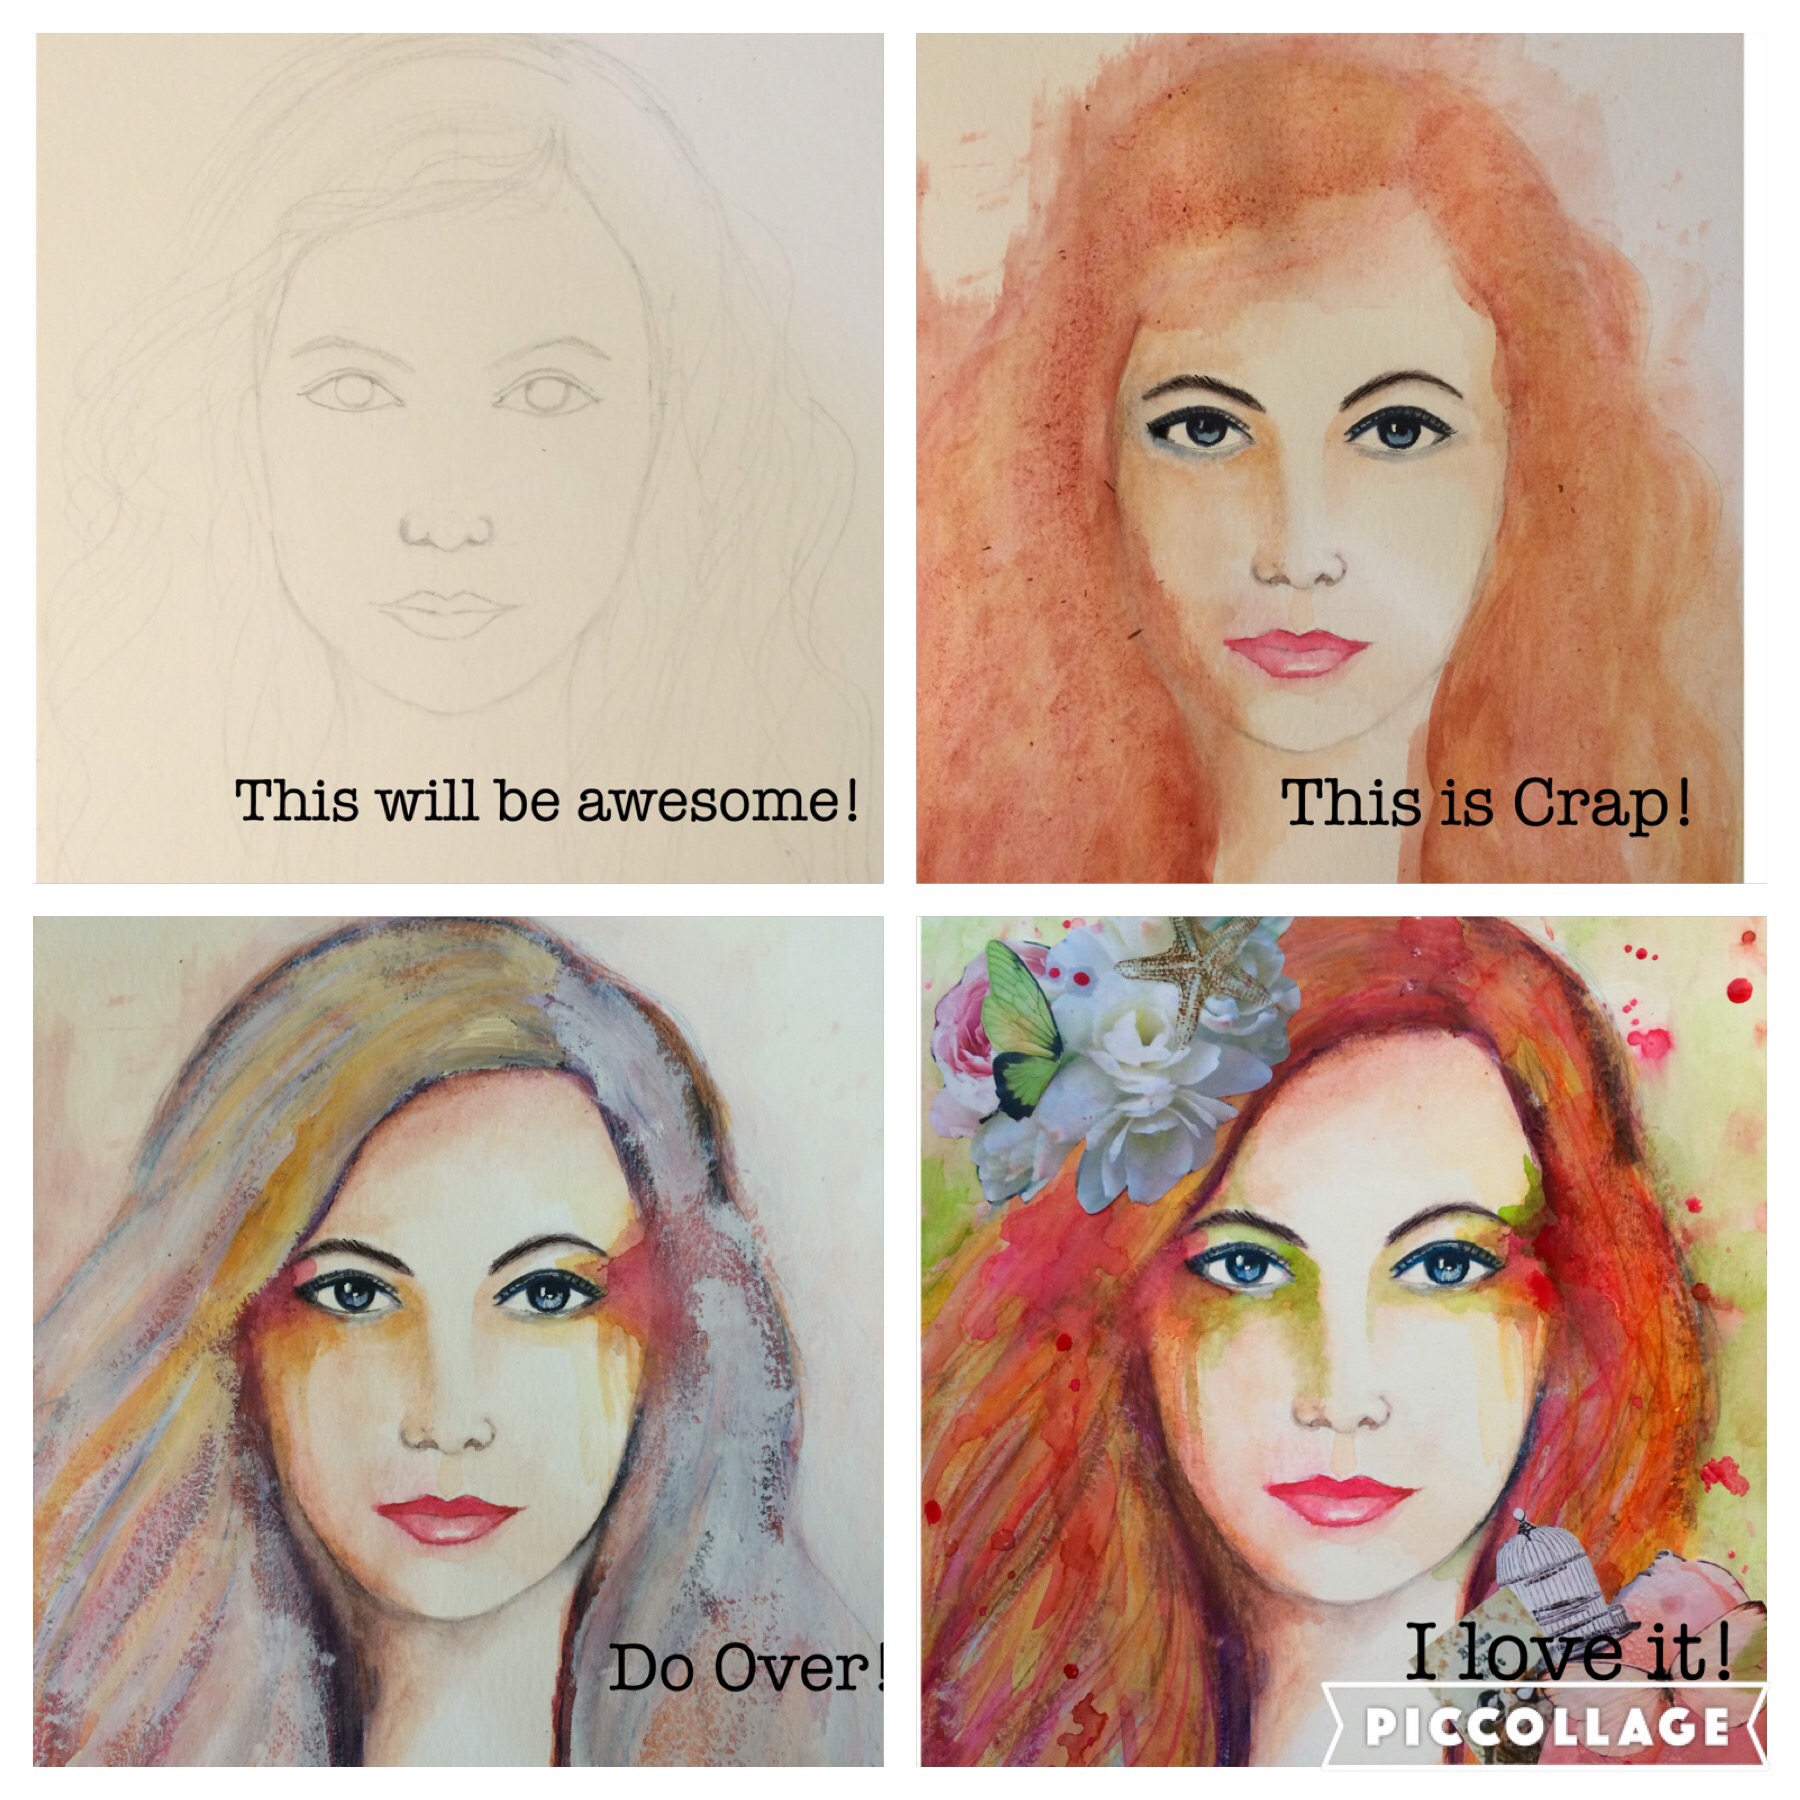
Then I decided to draw a face on it (of course… A page feels empty without a face for me😉)


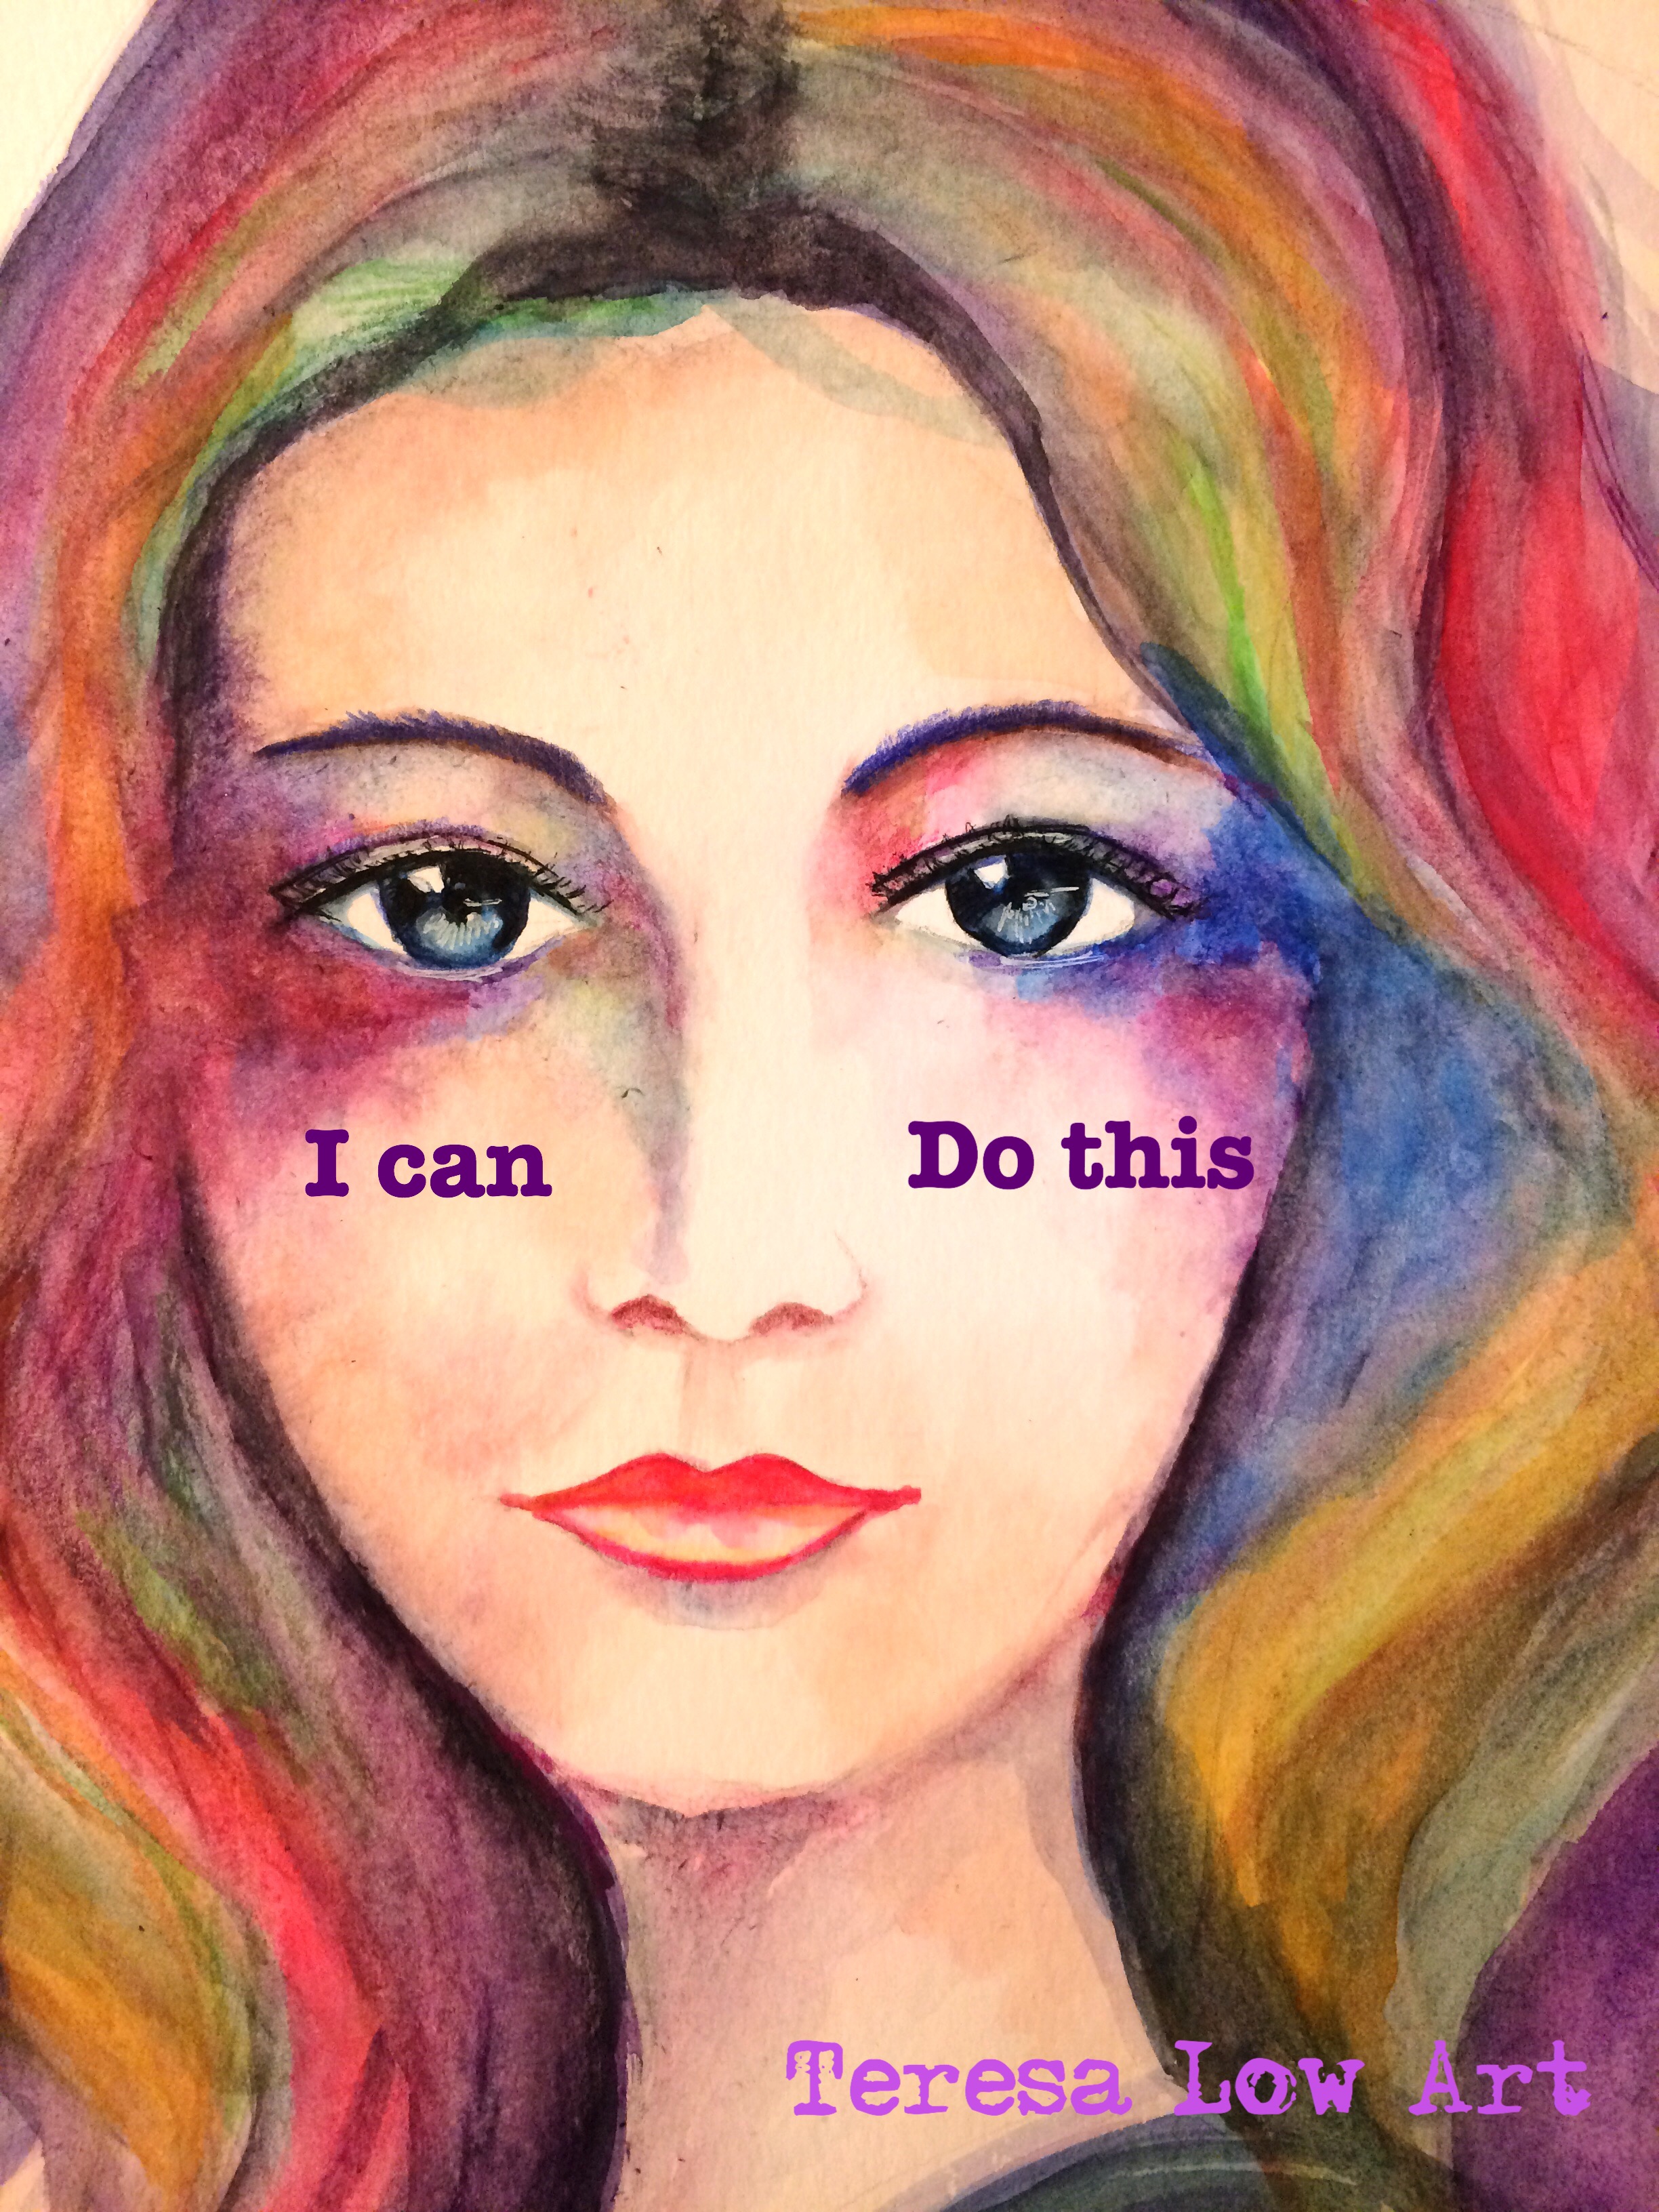
At this point, I usually have to paint with acrylic paint since it is not a watercolor paper anymore. This time, I decided to try using absorbent ground as the primer. And used watercolor on top of it.


And viola! So happy with the outcome! This has opened do many new adventures for me. Can’t wait to try on other surfaces!!!

By the way, I could not find absorbent grounds anywhere, so I followed someone’s tip to make my own absorbent grounds using one part modeling paste to three parts gesso. It worked!!!